Cart
.


$
0.00
x
1
$
0.00
Remove
There's nothing here... yet
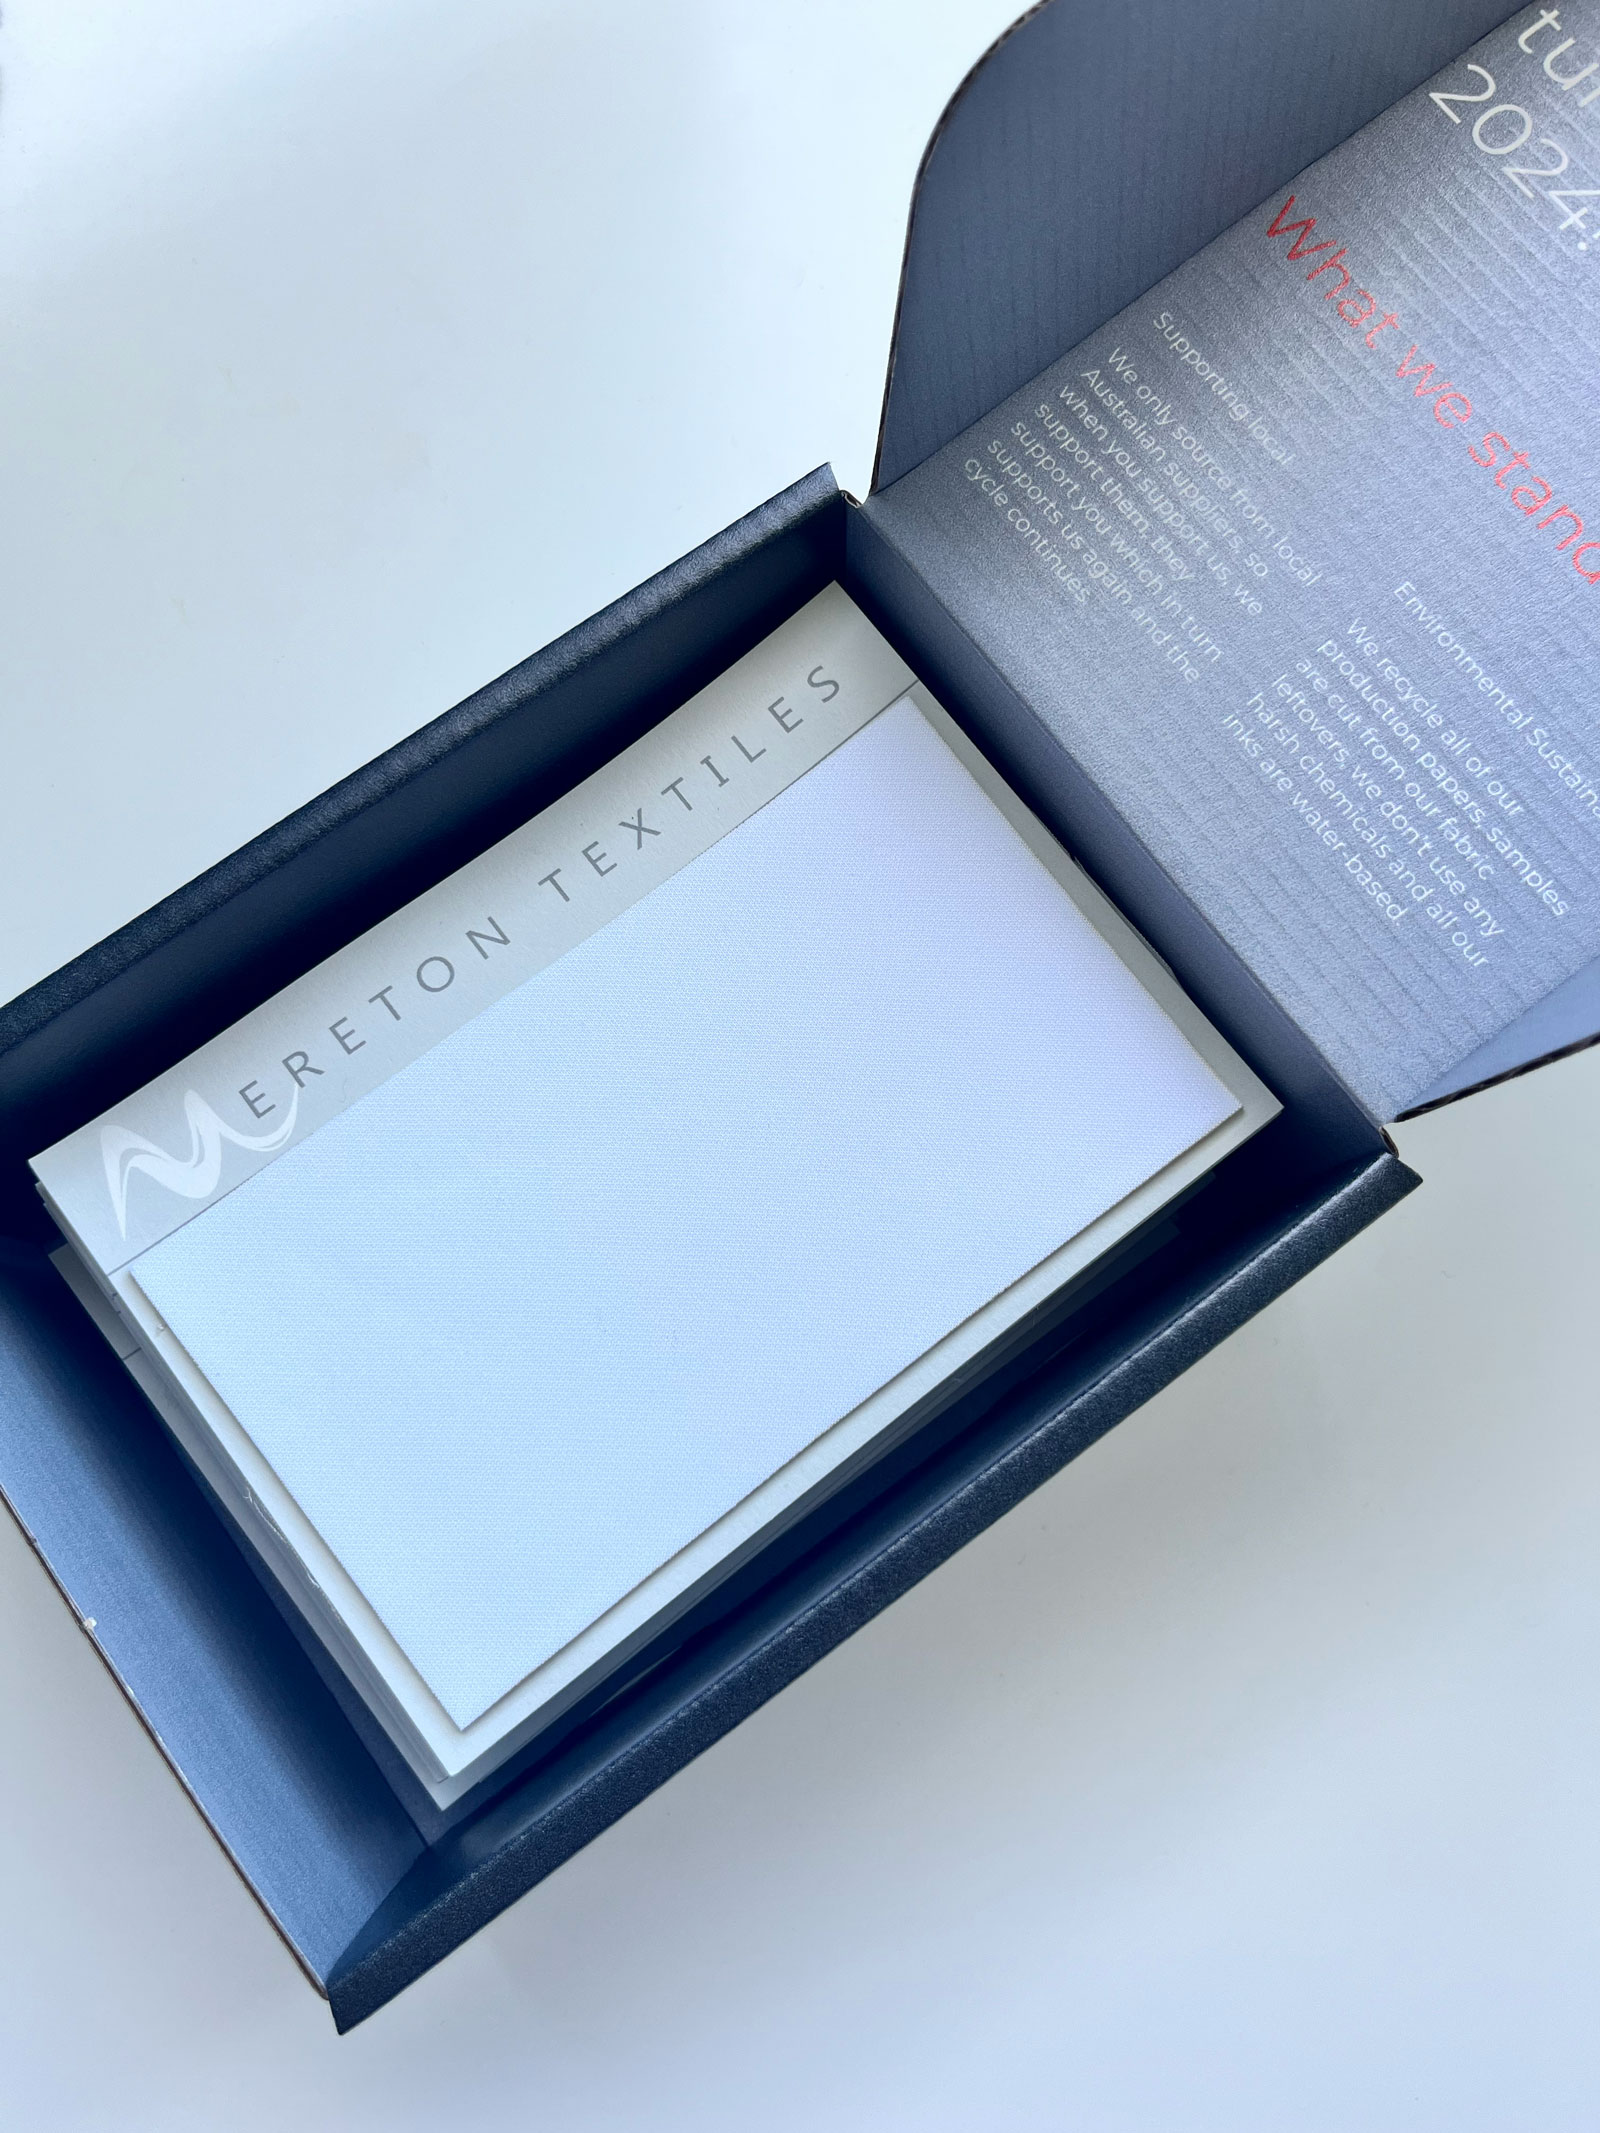
Pick a fabric, choose a design (or upload your own) and we’ll turn it into something beautiful.

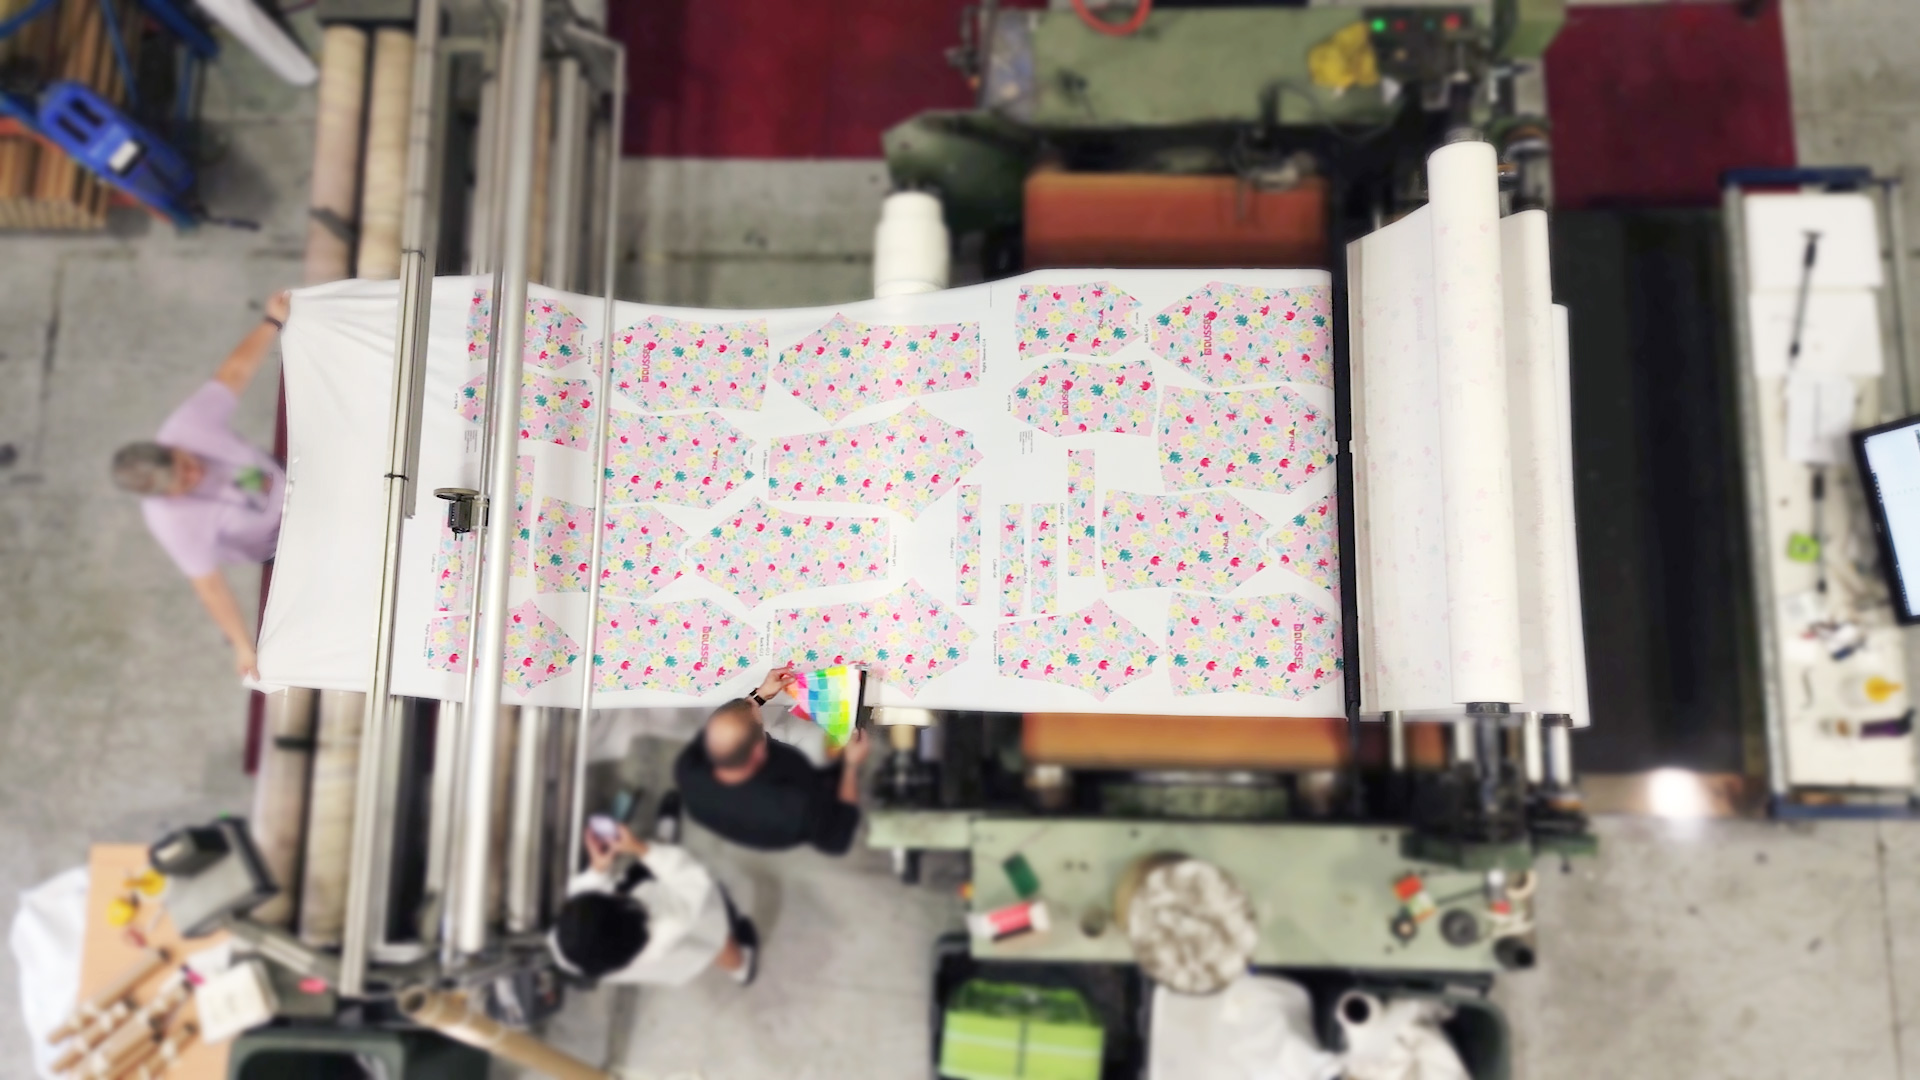
Examine goods to assure that pattern, colour, quantity and quality are as ordered. If applicable, separate goods by shade lot number and organise in roll number sequence.
Surfaces to be covered must be clean, smooth, dry and structurally sound. Loose paint or other wall coverings must be removed.
To ensure maximum smoothness of installation, nail heads, nicks, gouges, and other surface imperfections should be filled, sanded smooth and sealed.
On new walls, drywall joints should be taped, bedded and sanded smooth. Mould and mildew require moisture to grow and, therefore, it is important to check the walls with a suitable moisture meter.
Moisture content should not exceed 4%. Excessive moisture in wall needs to be corrected prior to the installation of the wall paper.
Remove any mould and mildew from existing wall and treat surfaces to inhibit future growth.
Mereton’s Wall Paper can be installed over almost any surface that has been properly prepared.
Glossy surfaces should either be sanded to dull the surface, if future strip ability is desired, a primer must be used.
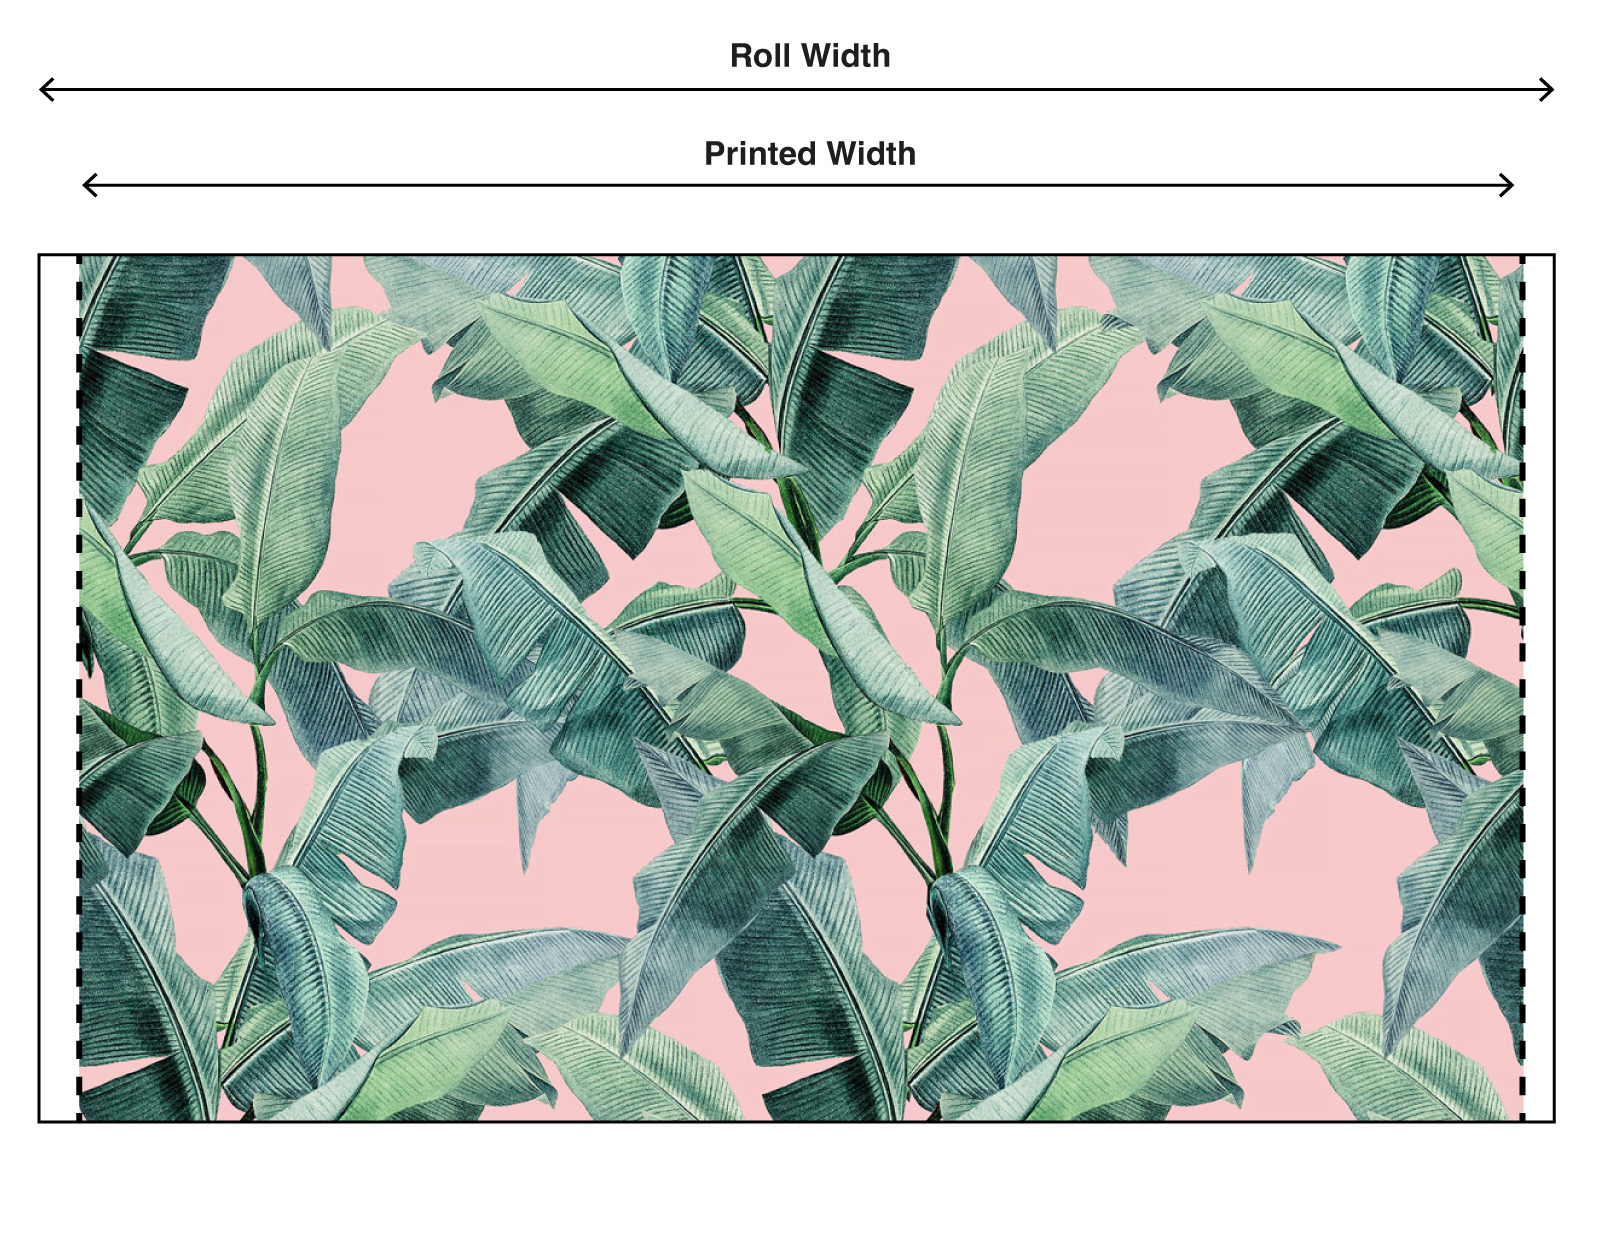
Mereton’s wallpaper widths vary depending on the selected wall covering type.
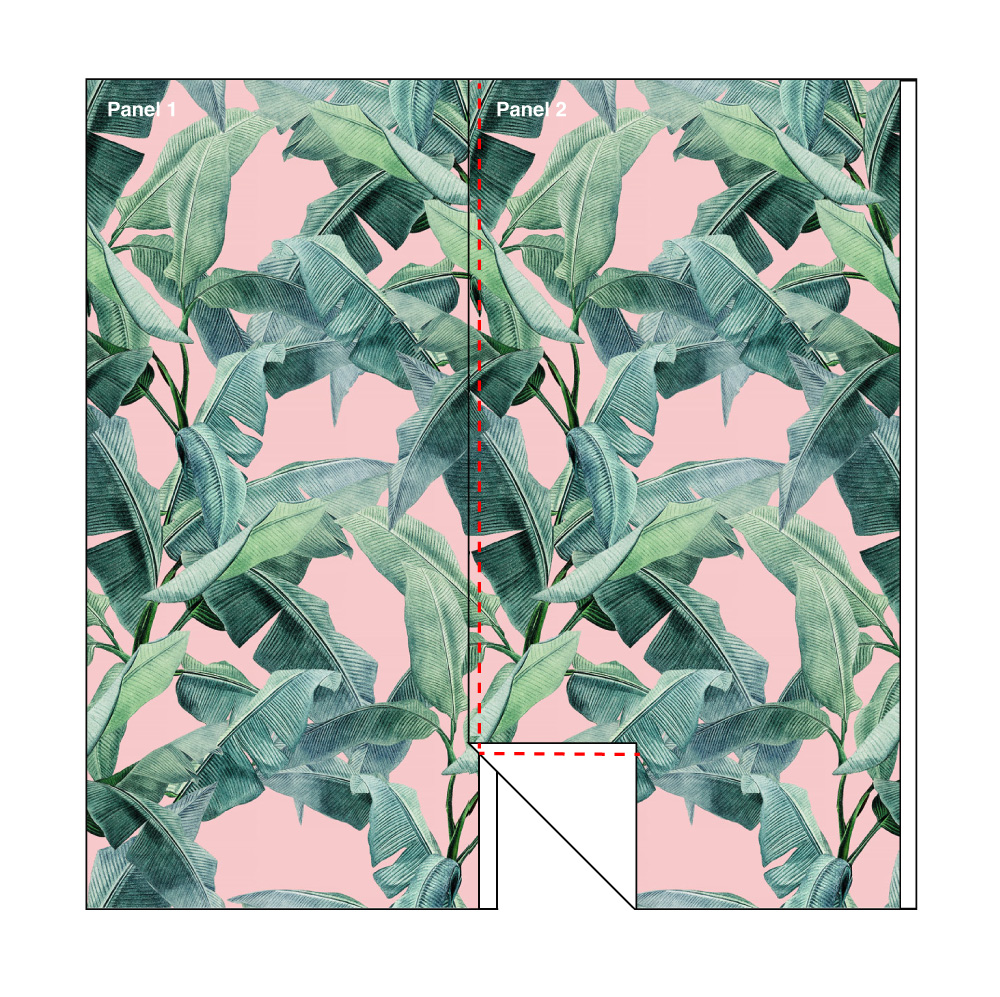
All wall coverings are supplied with an additional 20mm over bleed on one side of the repeat as an allowance for both methods of installation.
The Overlap Repeat Method is an easy method for DIY installations, where the excess white bleed is cut off from the left-hand side of the roll of paper. Then one drop of wallpaper is overlapped over another drop and aligned to match to the repeat.
1 — Cut off the excess white on the left hand side of the print (as per the red marking below), prior to starting your application.

2 — Apply the first panel (Panel 1) onto the wall.
3 — Next, apply the second panel (Panel 2) to the wall, overlapping the 20mm bleed on top of Panel 1 as per the below diagram.
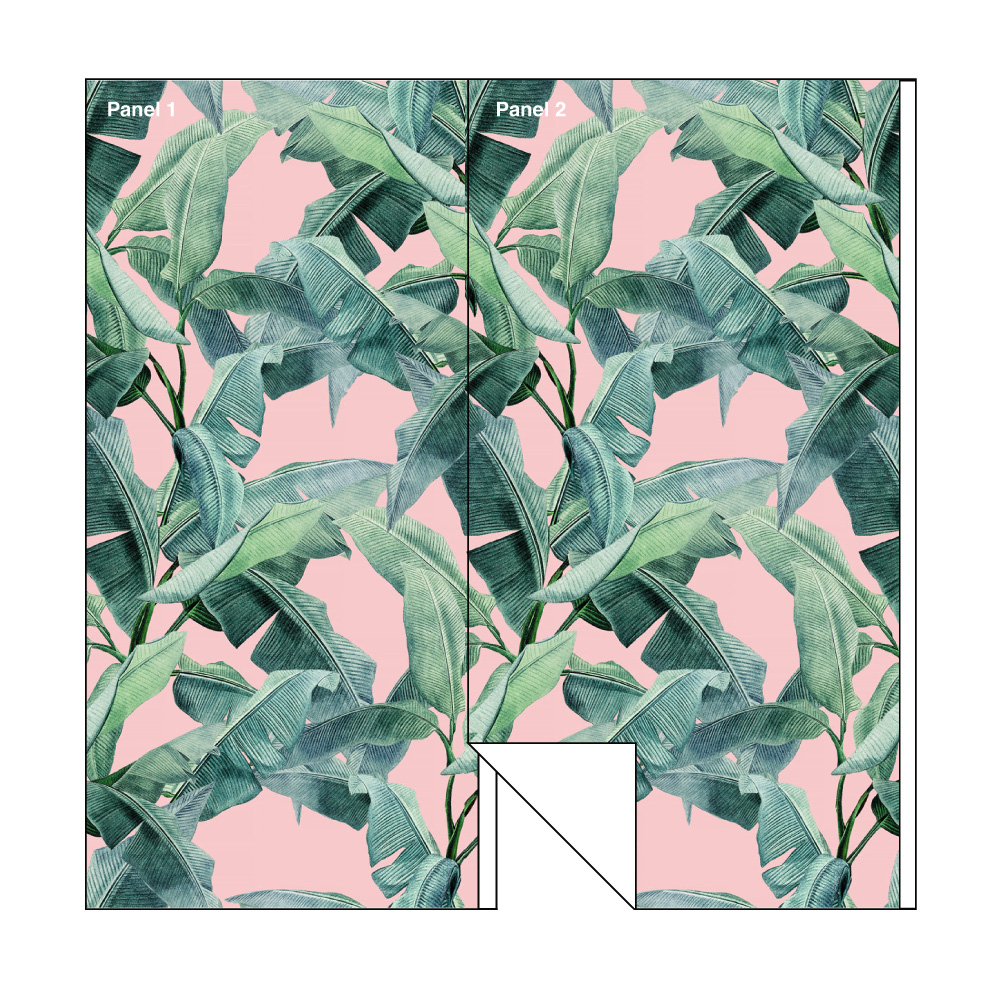
4 — Once overlapped, adjust until the repeat aligns and then set.
The wall paper should be applied to the wall as soon as it has become tacky. Smooth the surface, working out air bubbles as you go.
As each strip is installed, immediately remove excess adhesive from wall paper surface and seams using natural sponge frequently rinsed in clean warm water. Dry with clean cotton towelling.
1 — Follow all four steps in Method A, then continue with the next steps below.
2 — While on the wall, use a sharp blade to cut down the overlay area marked by the red dashed lines above.
3 — Discard the excess paper that falls away from Panel 2.
4 — Gently lift the left side edge up on Panel 2, and peel away the excess white and paper remaining on the wall from Panel 1.
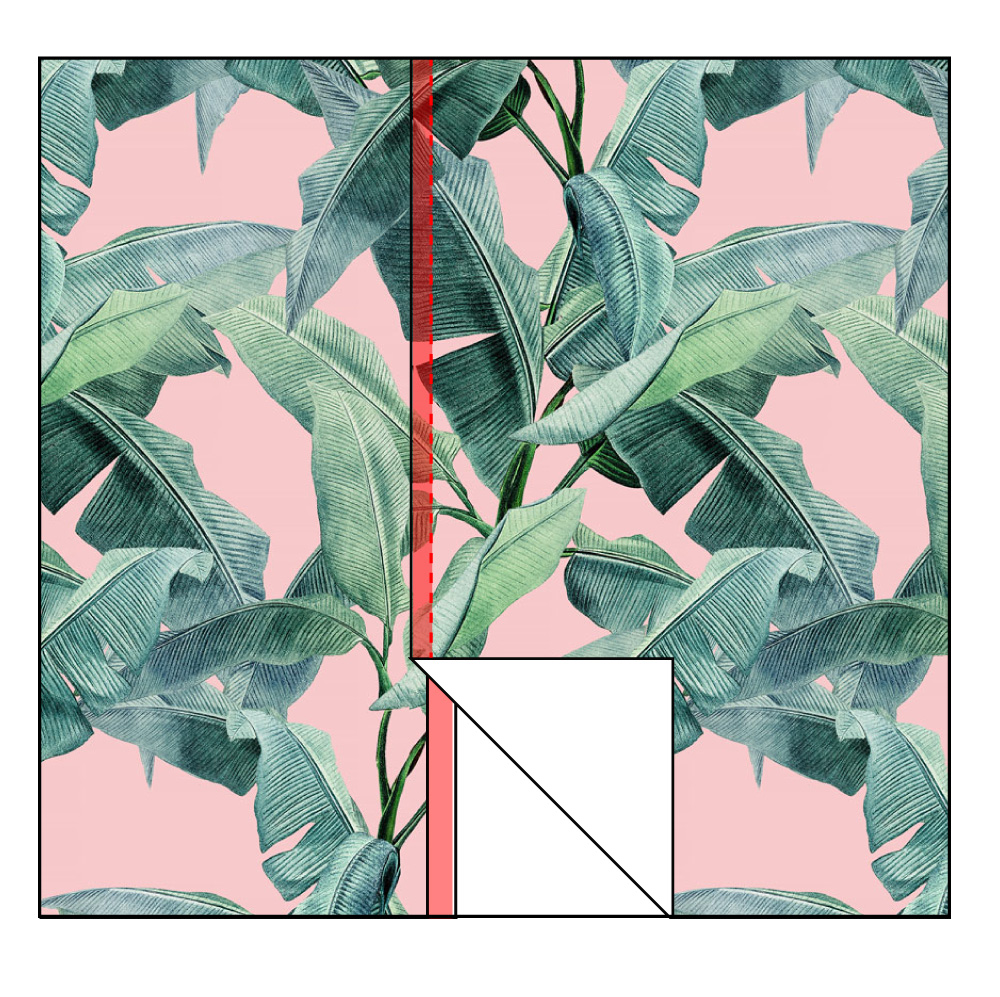
5 — Smooth Panel 2 back down to the wall, and you will now be left with a flush, smooth finish.
The below video showcases Method B and how to achieve a perfect finish during your installation.